
How To Install Lightroom Mobile Presets Without Desktop
This tutorial will teach you to install Lightroom Mobile presets into the app, without using the desktop version at all. You will also be able to save them as presets and apply them with one click.
(If you already have the desktop version of Lightroom, you can simply sync your presets between Lightroom Desktop and Mobile.)
But if you want to download Lightroom mobile presets straight to your phone and use them on the free app without going through the desktop version, you can do it directly on your phone.
Step 1: Download the DNG files to your phone
Most mobile presets you purchase (including ours) will come as DNG files that you can download directly to your phone.
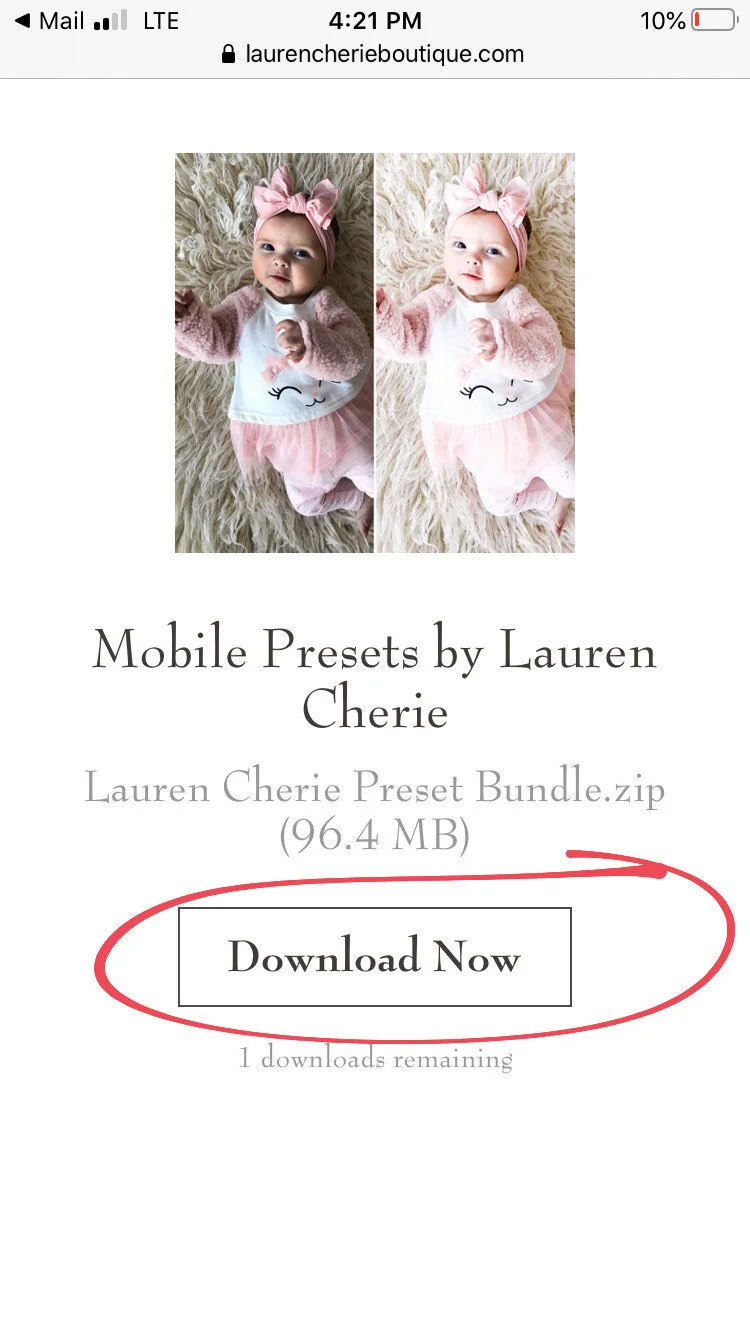
After you purchase, you will receive an email from with your downloads. The downloads will be in one zip folder. Click the download button and they will begin downloading.
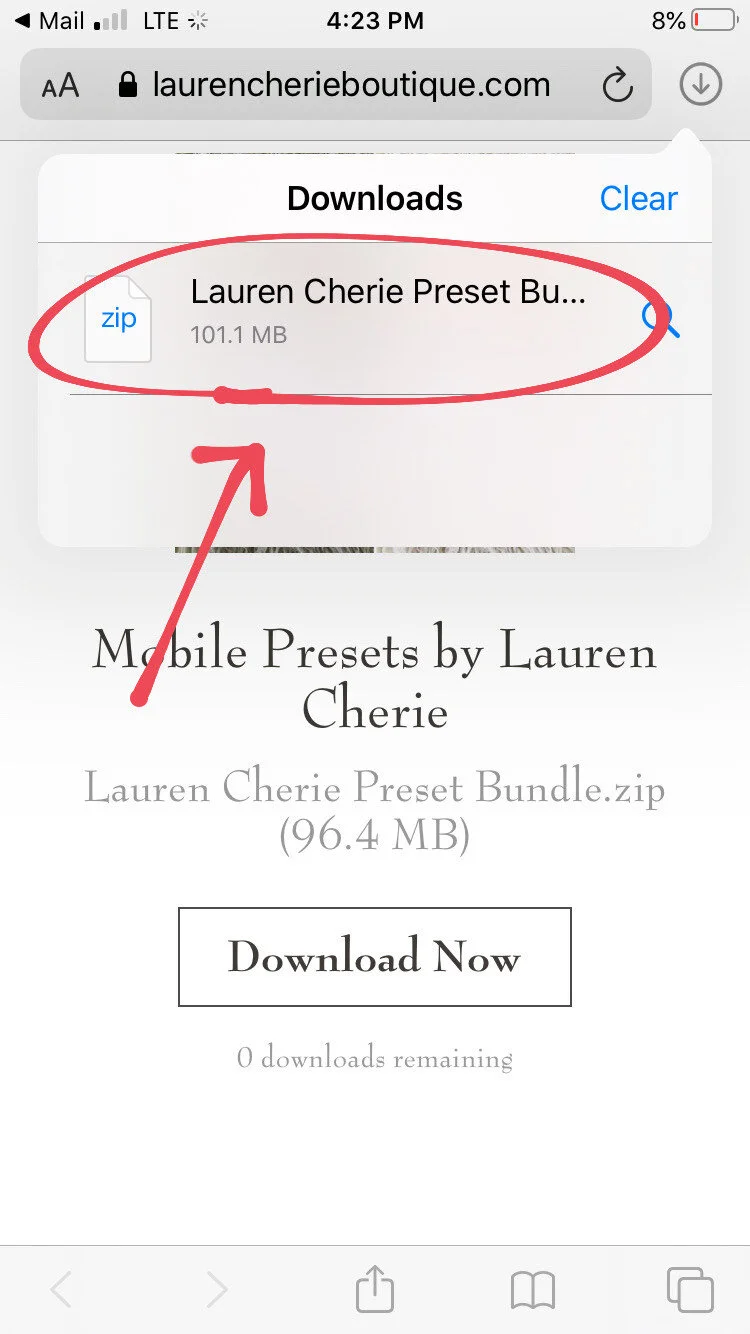
Then, click the download icon in the top corner. Here, you should see the downloaded file.

Click the file to open.
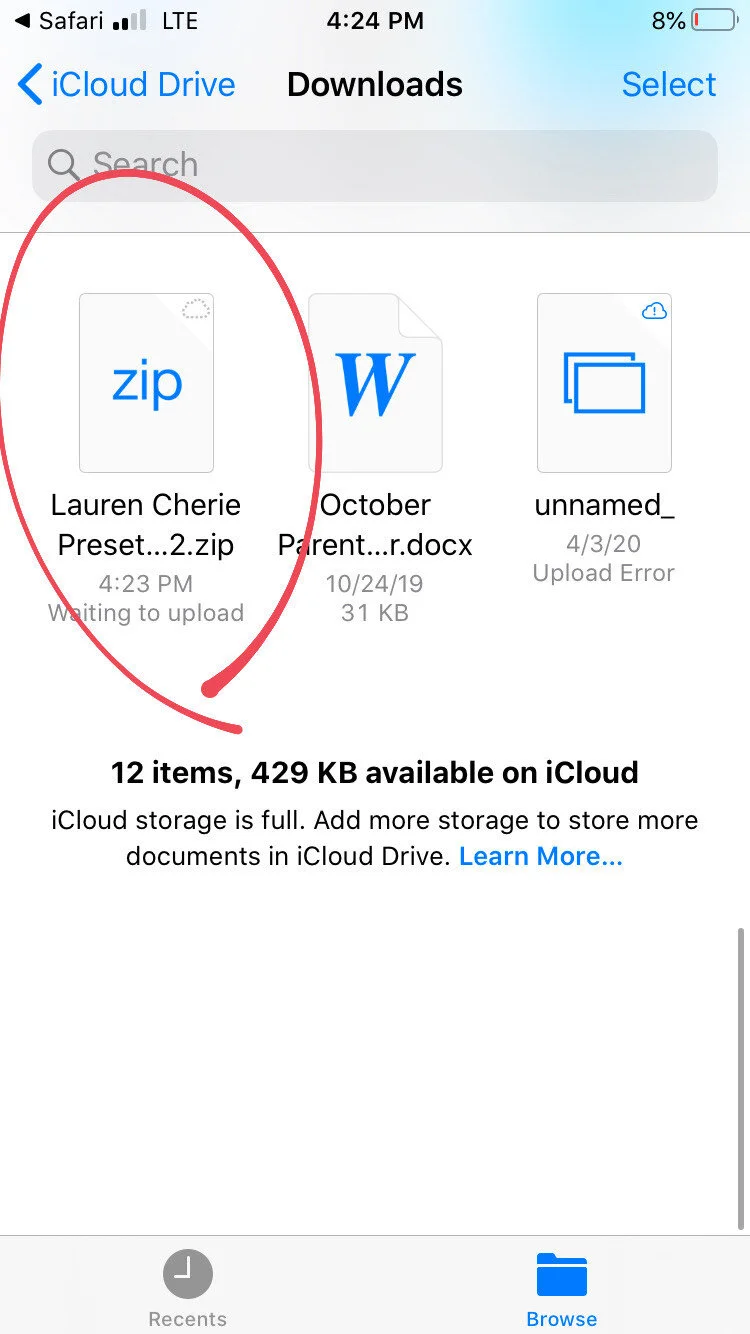
Click the zip file to un-zip.
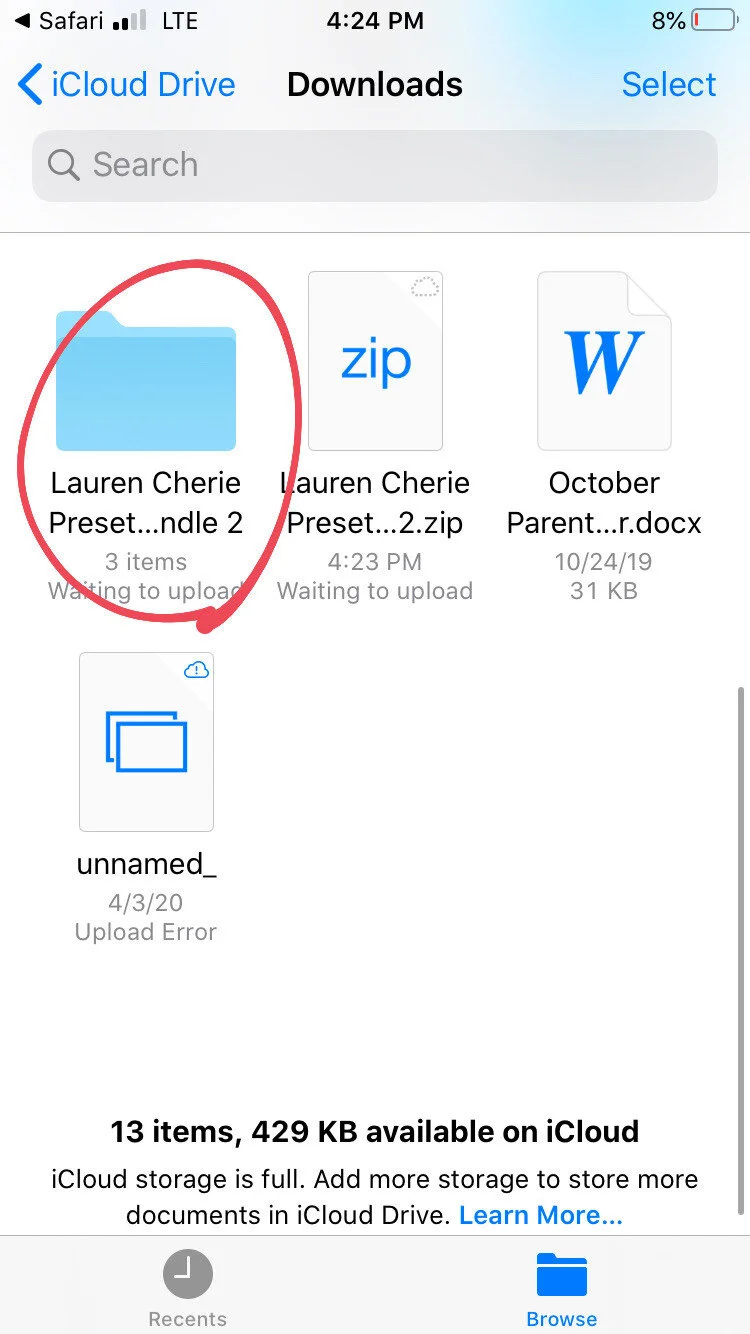
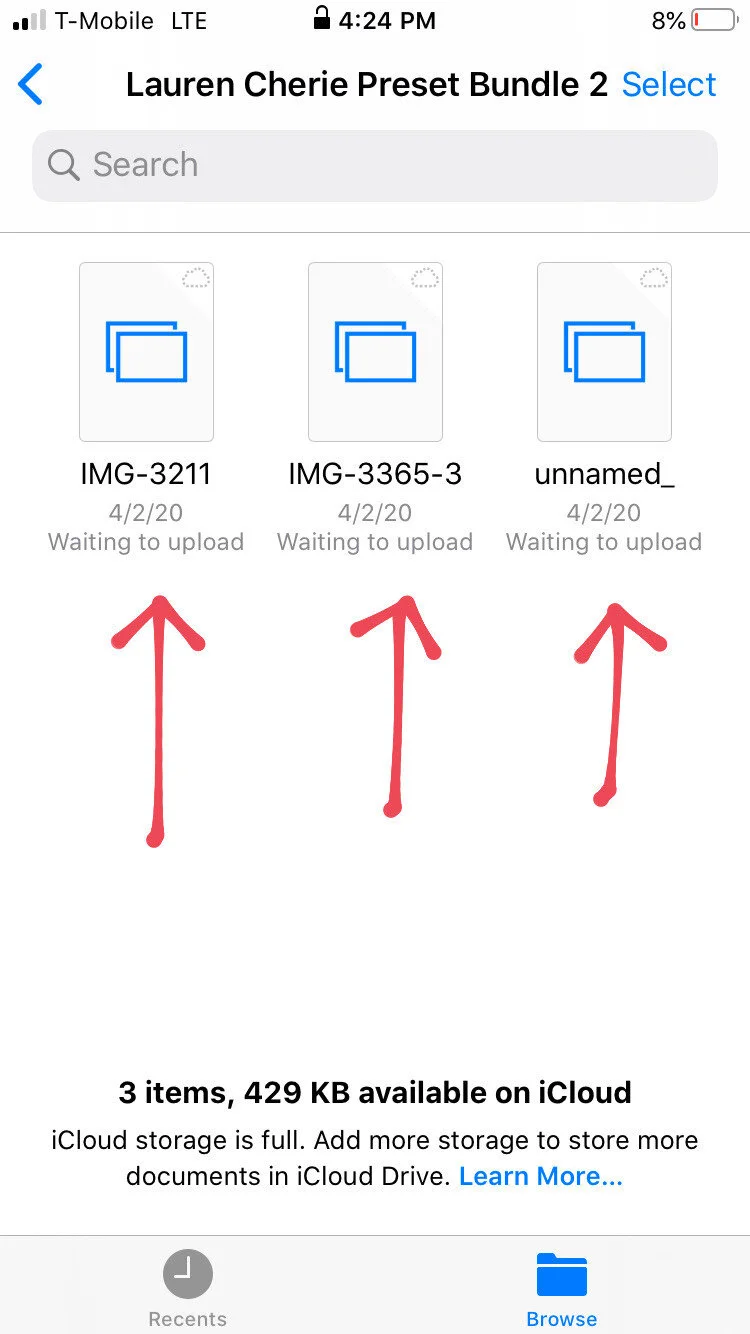
The file should now be un-zipped and in a folder. Click to folder to view all three files.
Click one file to save to camera roll.
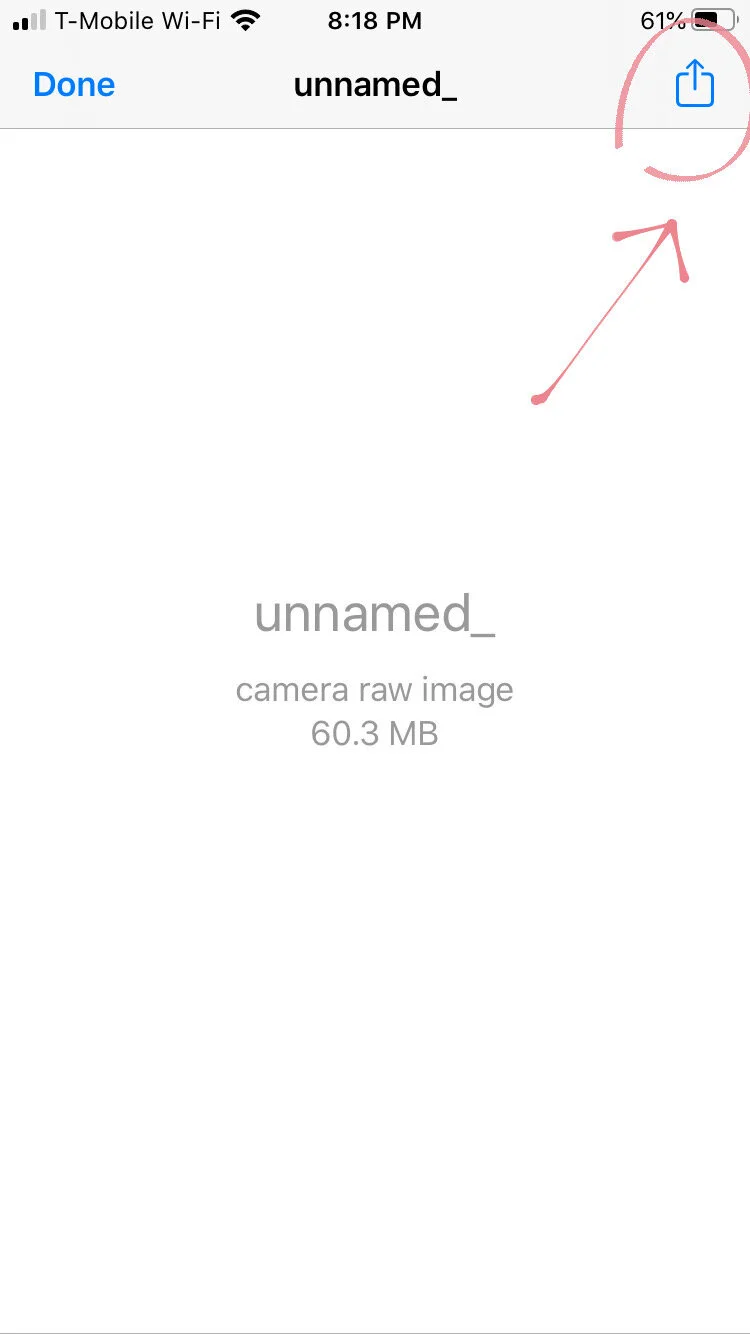
Click the export icon in the corner.
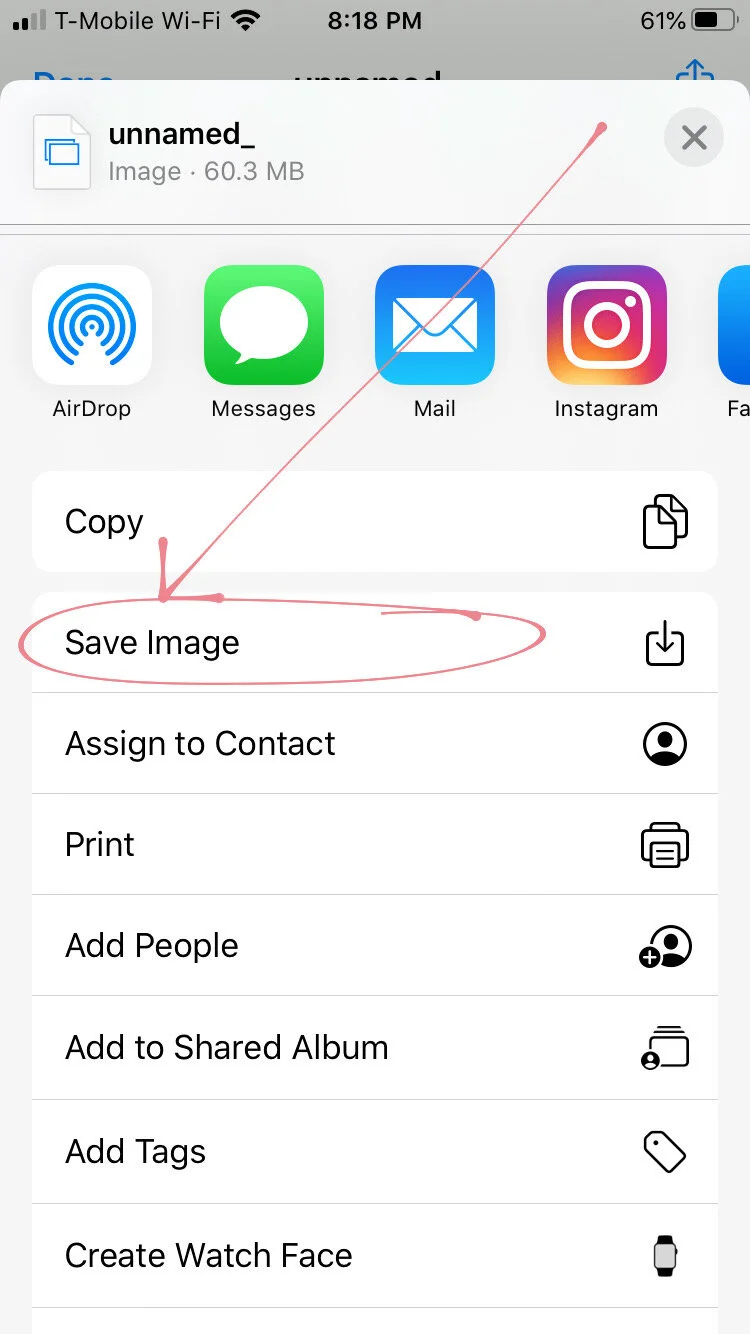
Select Save Image to save it to your camera roll. Repeat this for each download.
Step 2: Import the preset files into the Lightroom app
At this point you should have all of your DNG files saved to your phone. These serve as “preset carriers” and now you just need to add them to Lightroom mobile and save presets out of them.
If you go into your photo stream and see them as blank picture files, don’t be alarmed – that’s how they should look.
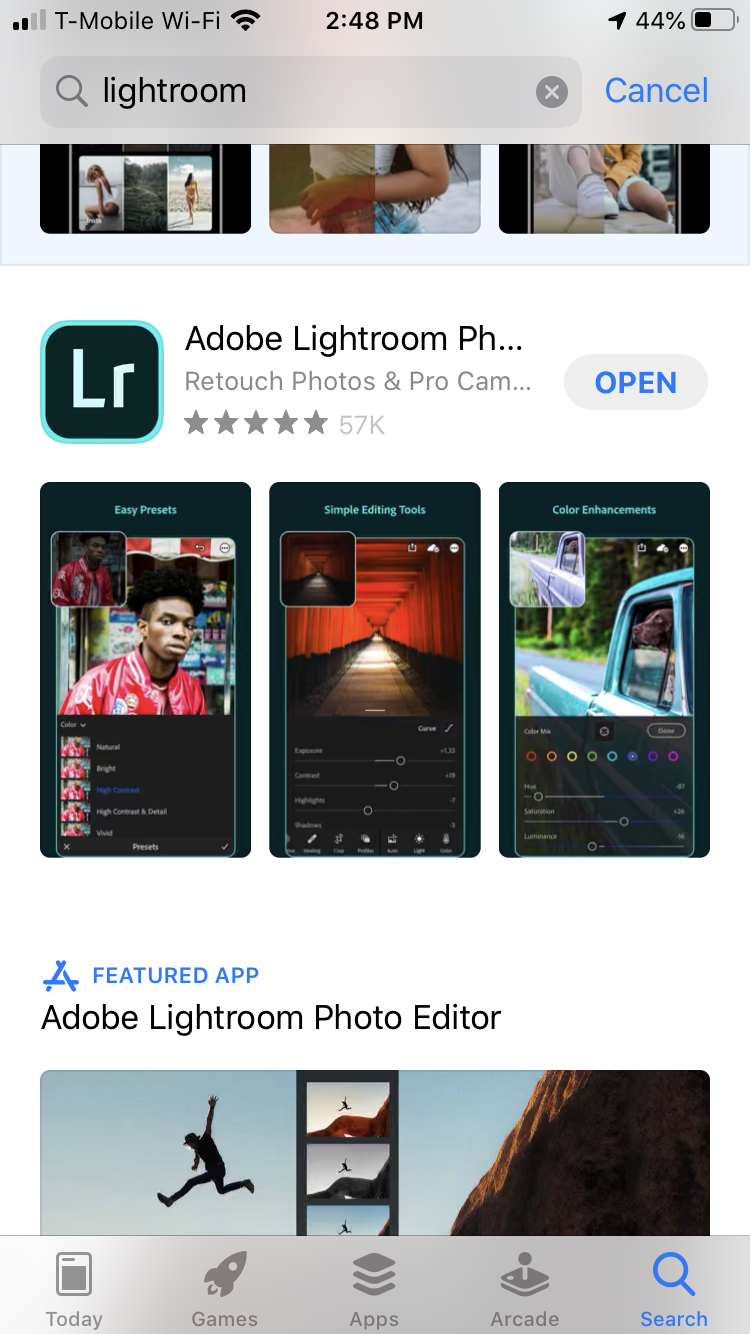
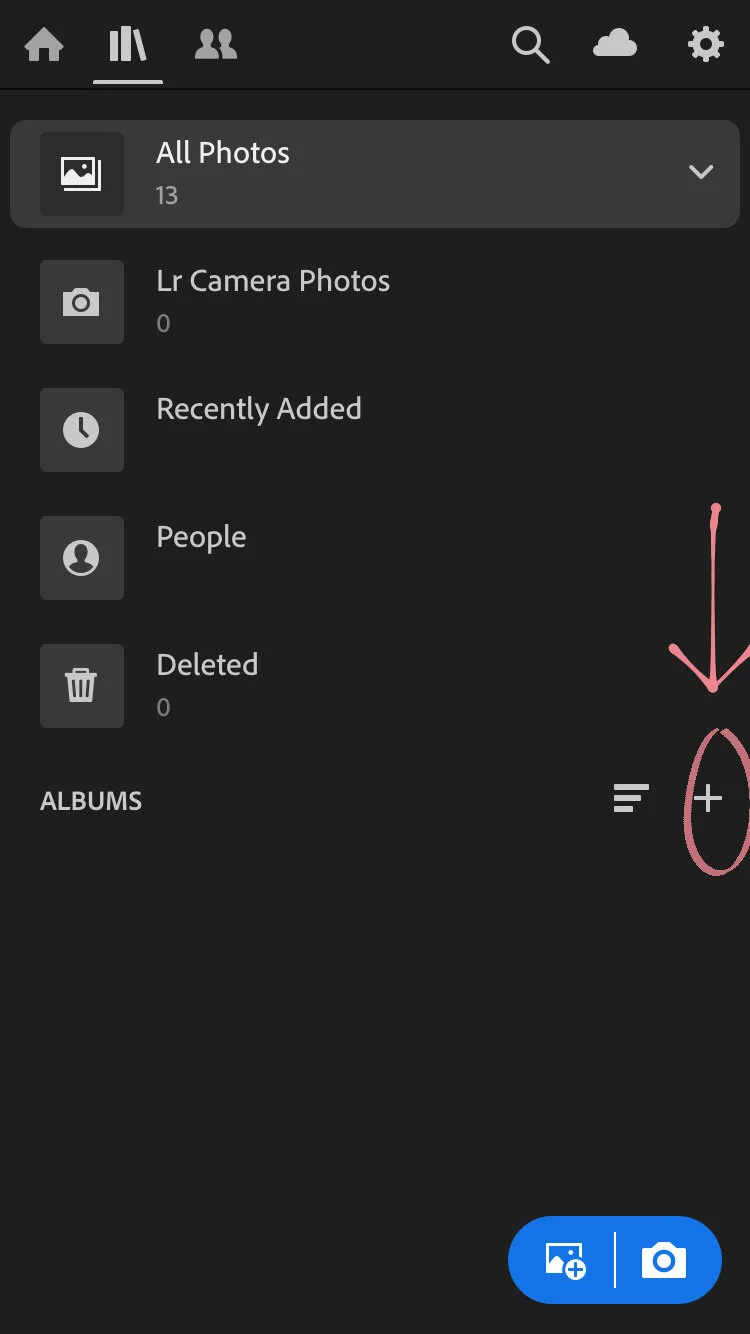
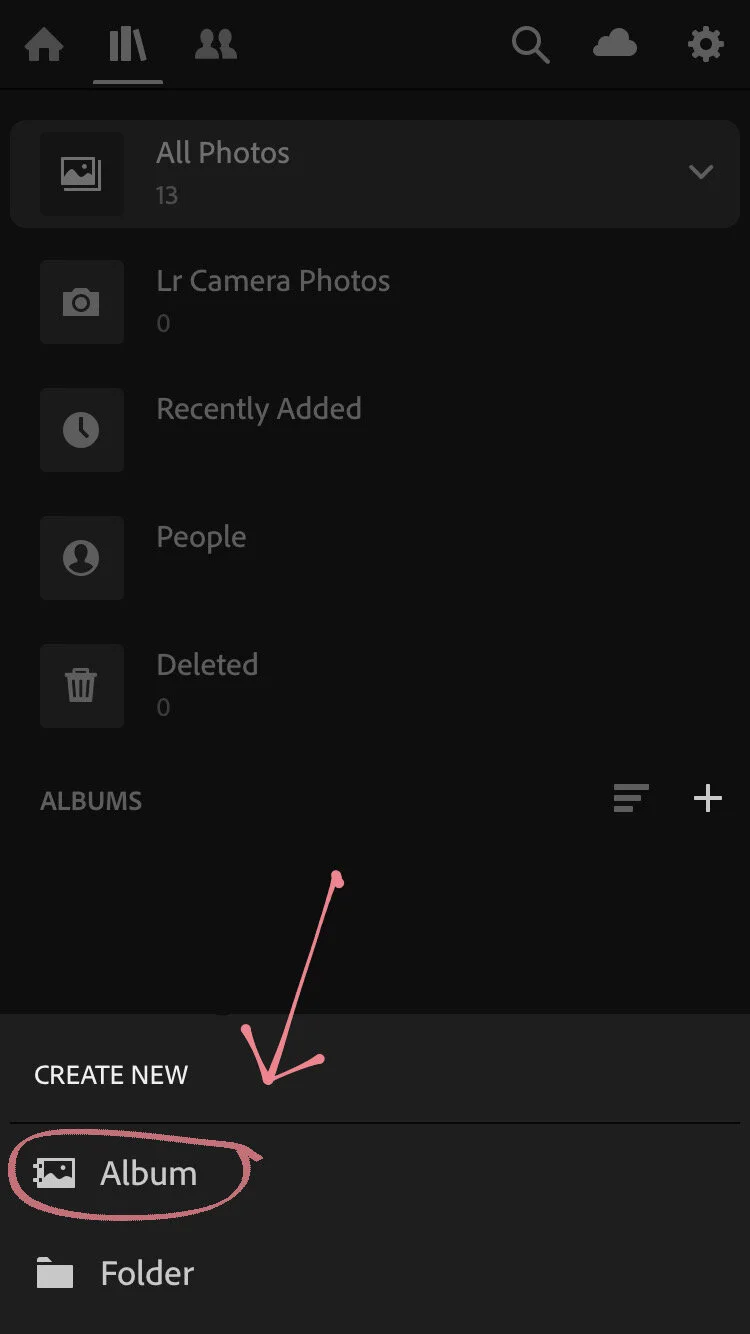
Download and Open the Lightroom app, create a new album, and name the album. In this case we’ll name it LC Presets:
This is the Free Lightroom App that you need.
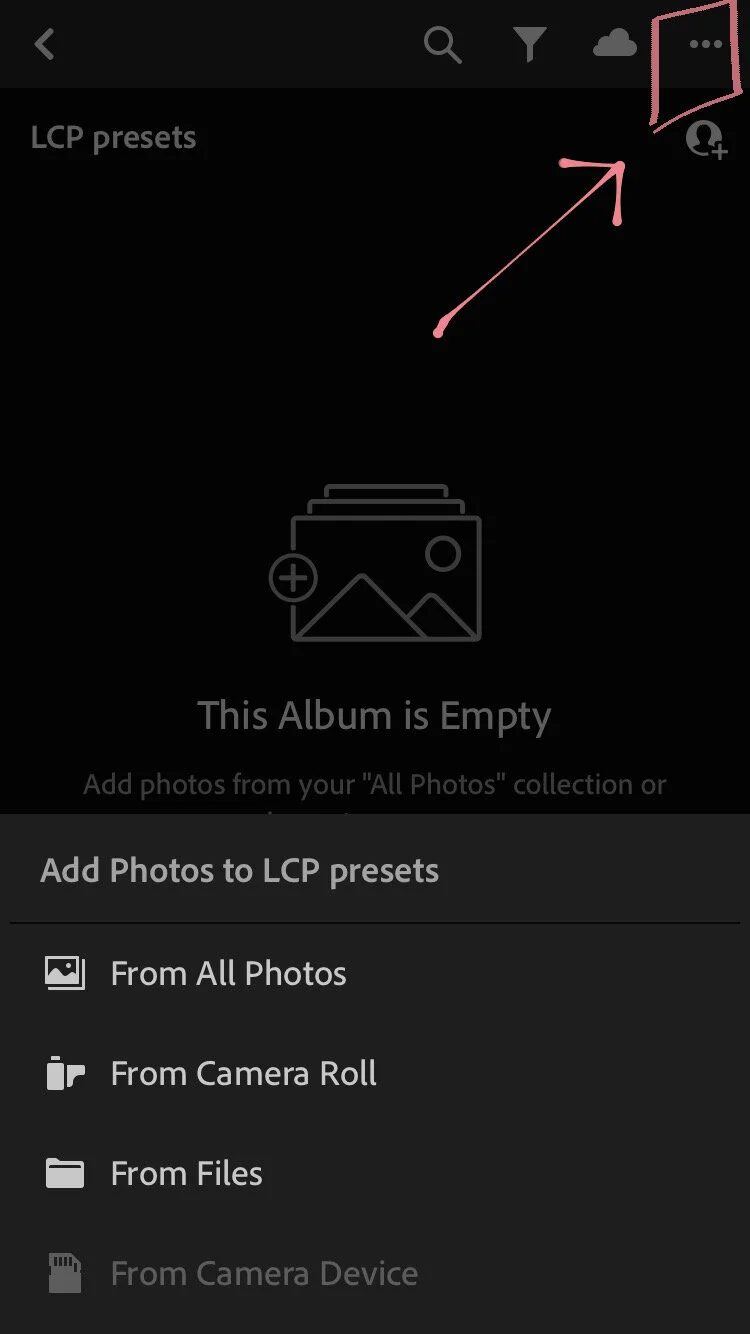
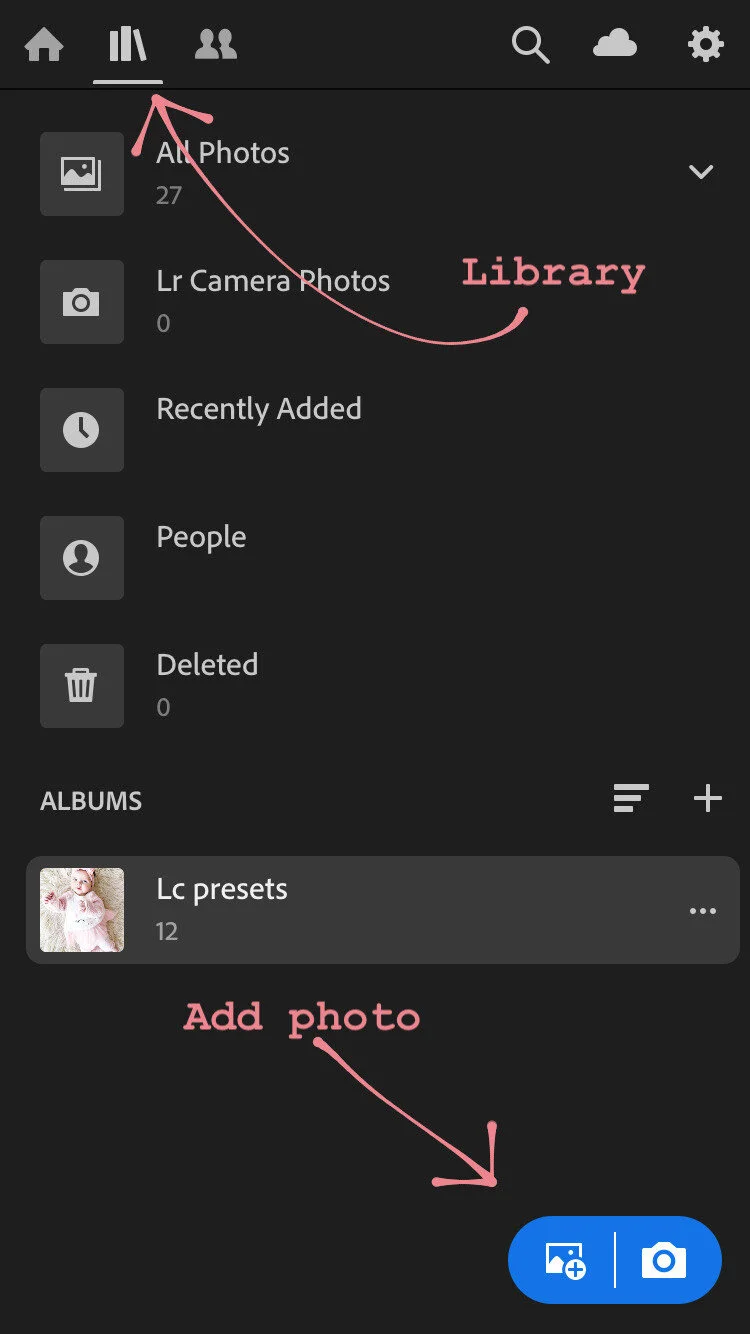
Then open the new album, tap on the 3 dots in the upper right corner to Add Photos:
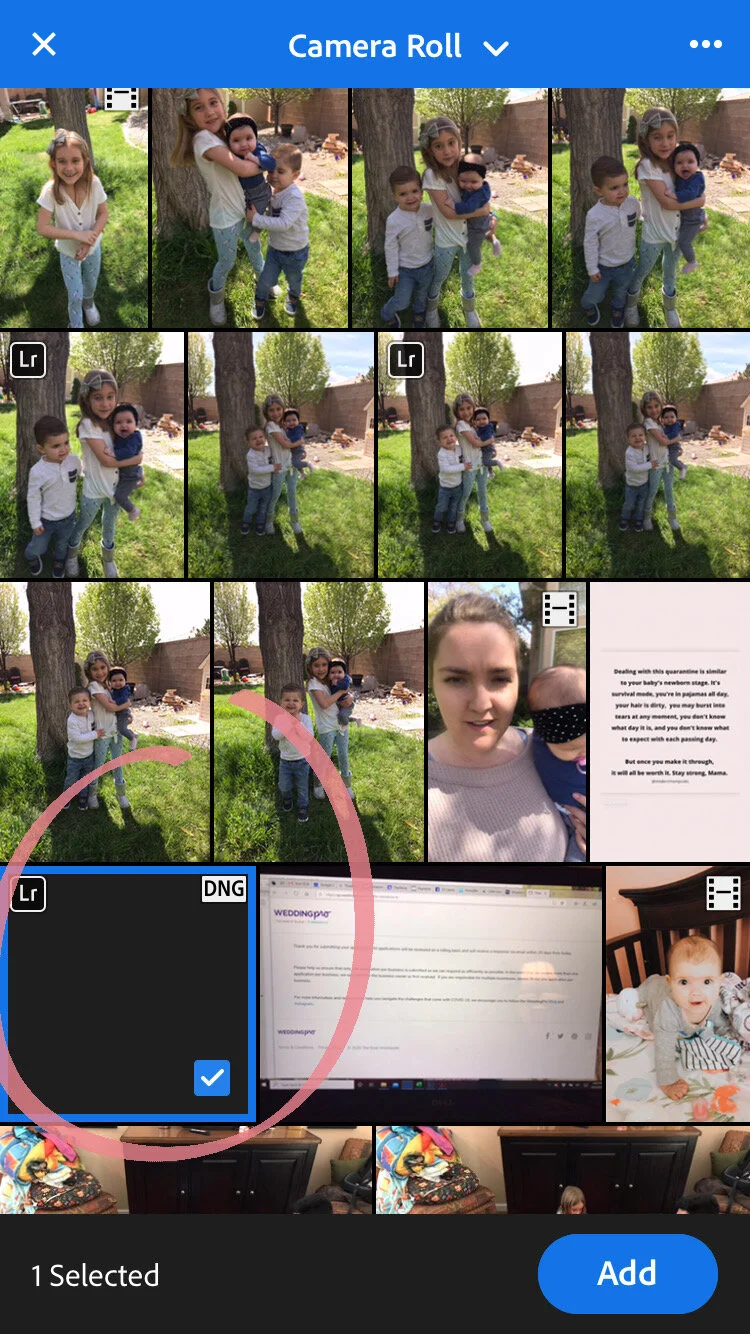
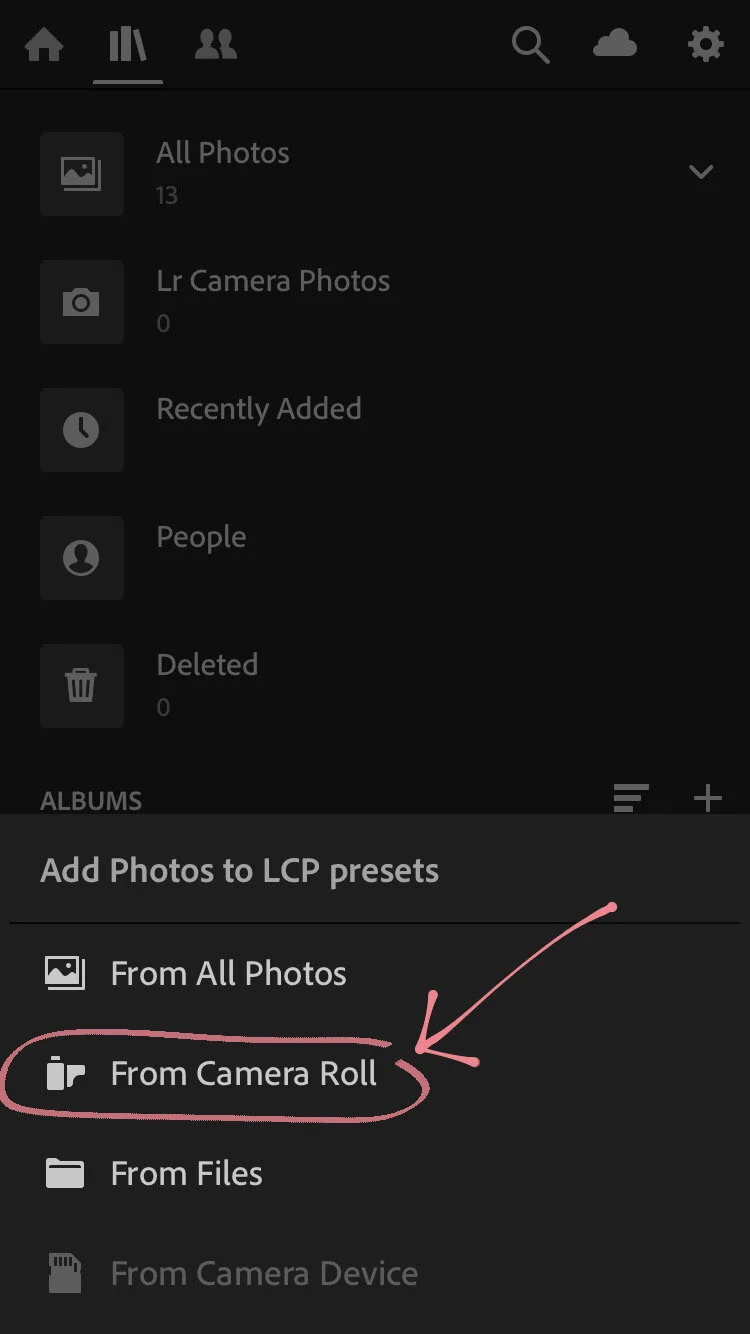
If you downloaded them directly to your Camera Roll, select From Camera Roll:
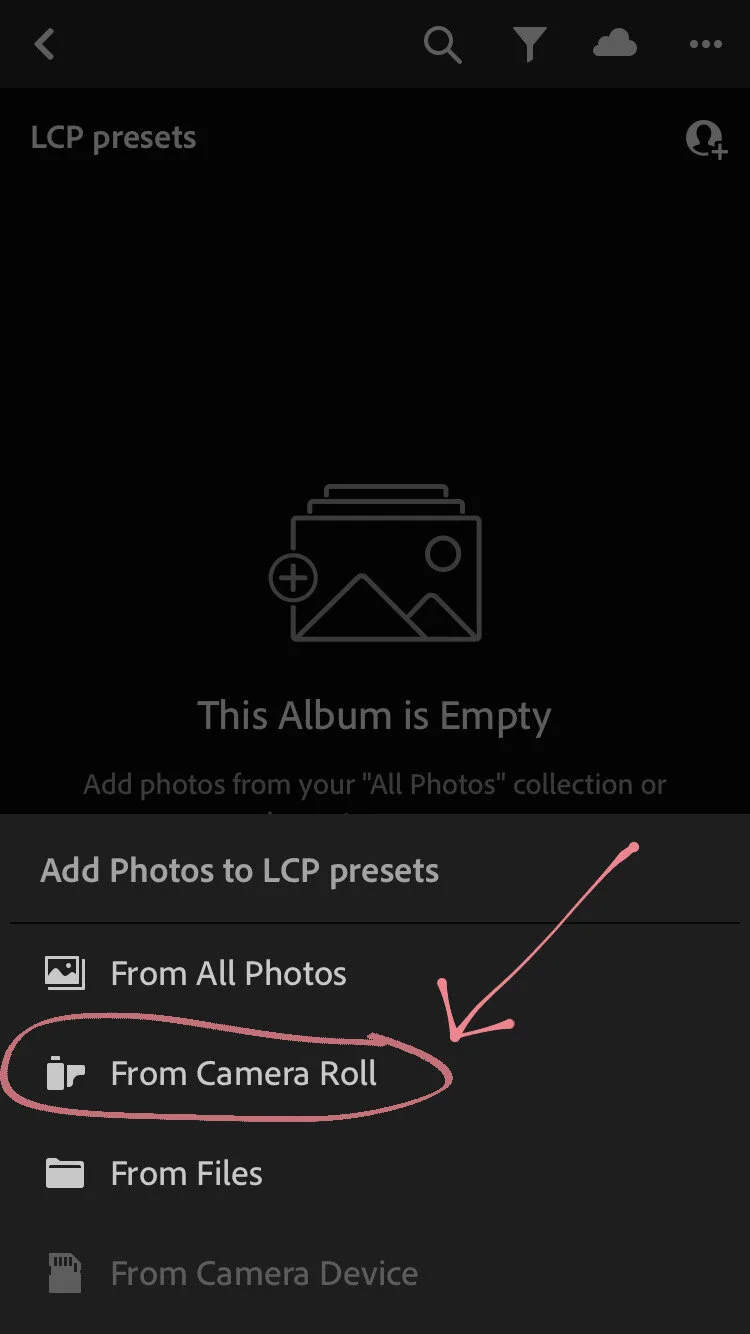
Next, select the DNG presets from your camera roll and import them into the newly created album in Lightroom:
Step 3: Create and save your Presets
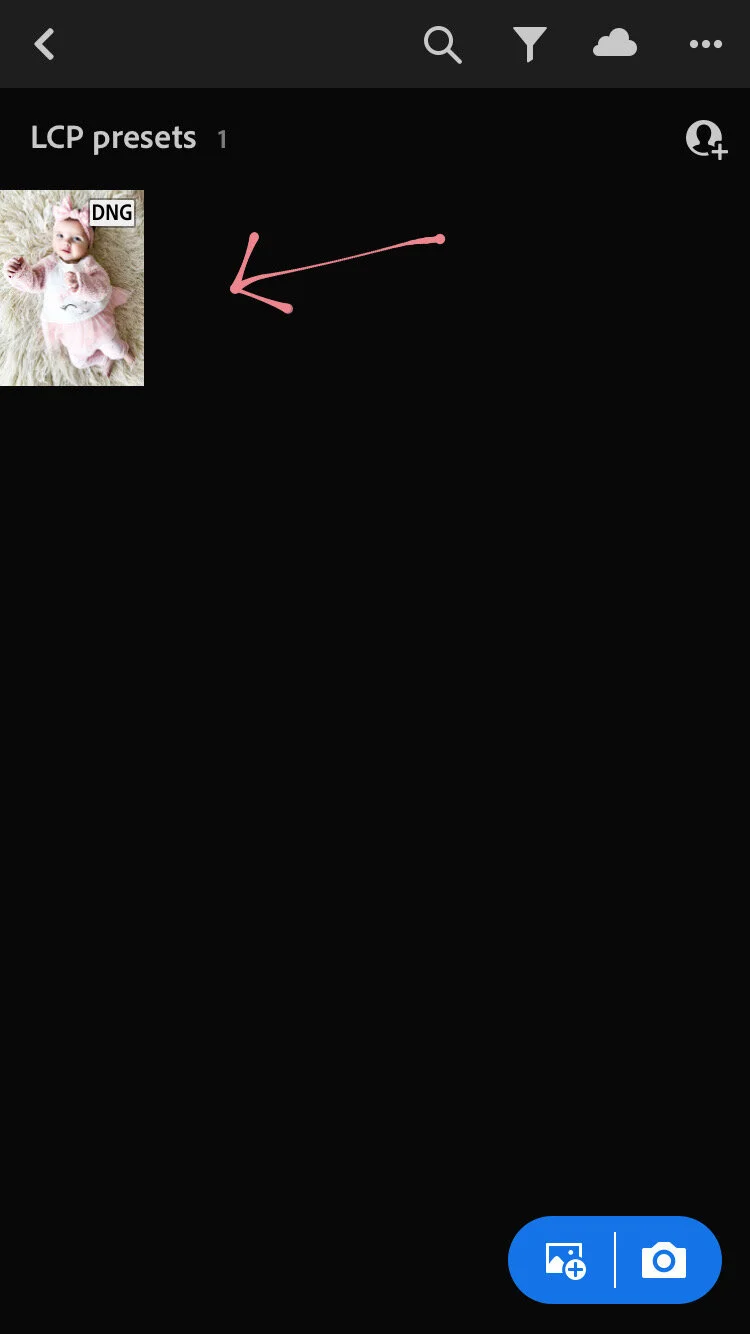
Go into the album containing your newly imported DNG files. Open the first file:
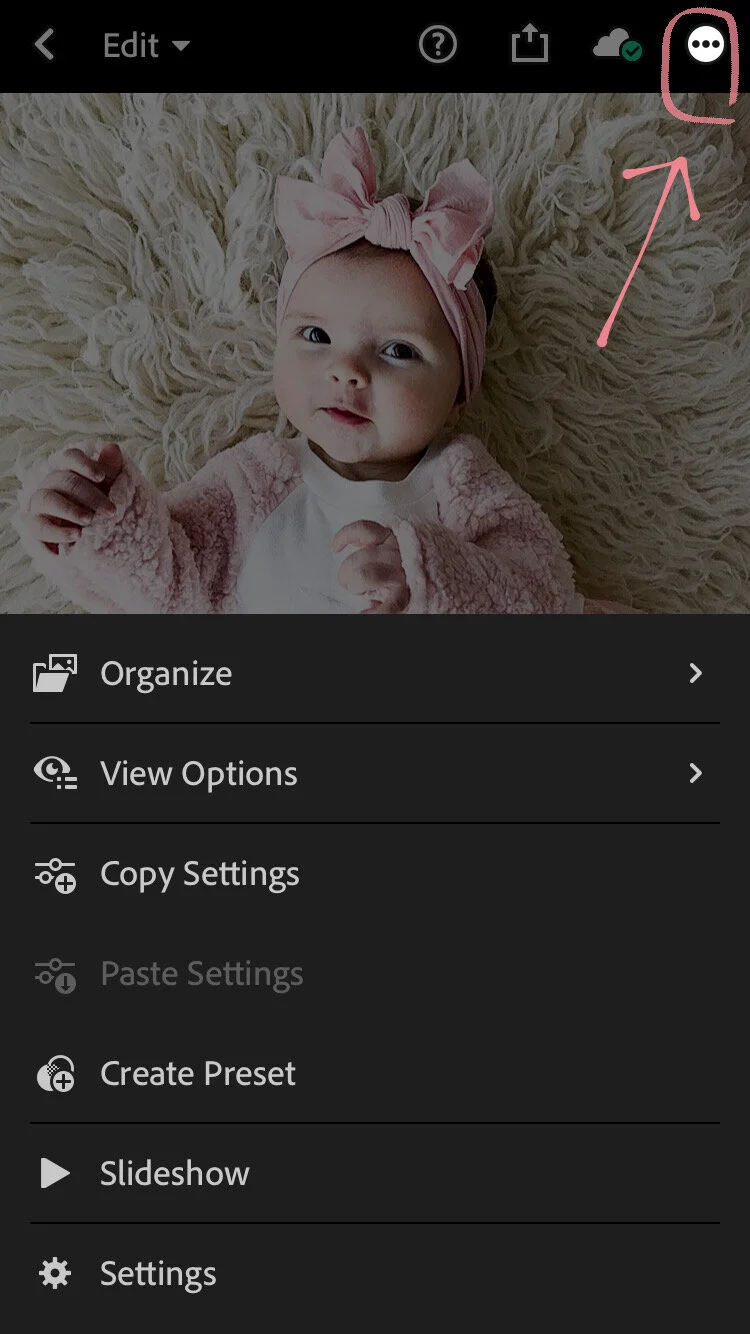
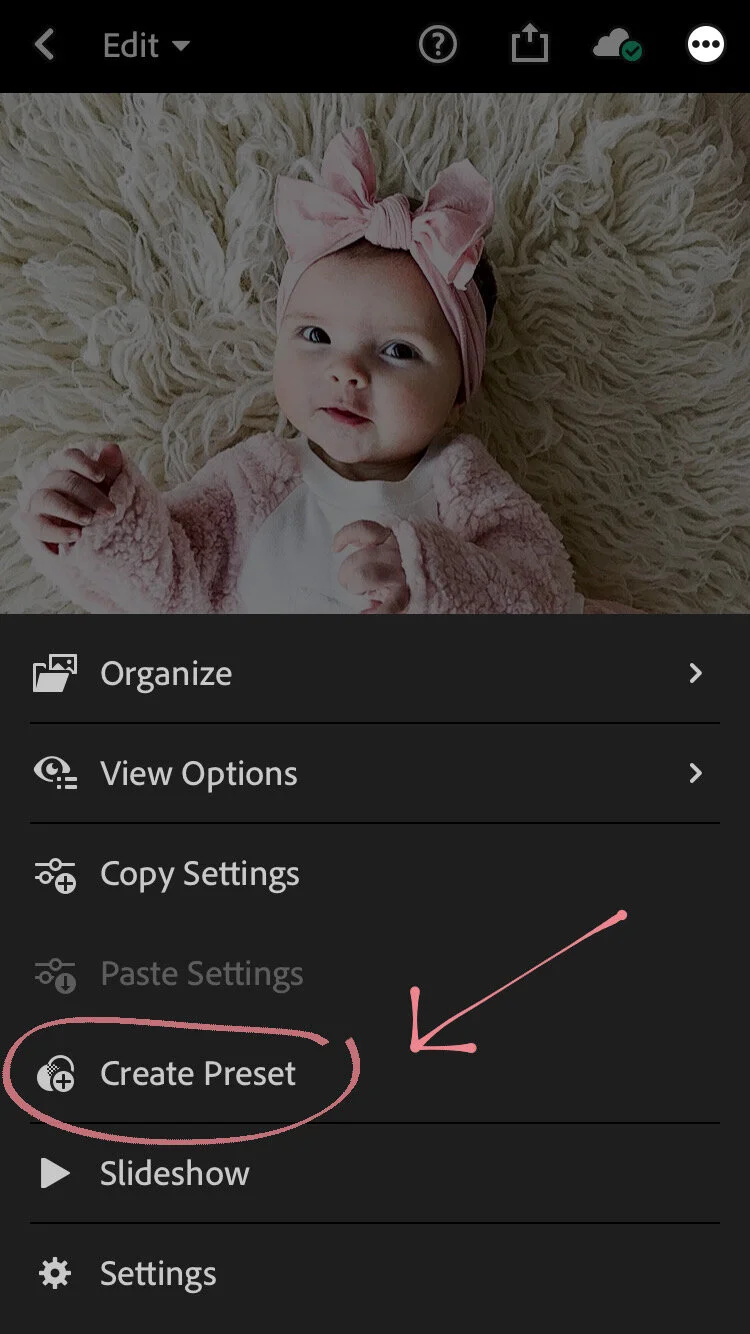
Now tap on the 3 dots icon at the top right of the screen and then tap on Create Preset:
Next you will see the New Preset screen (shown below) which contains all the information for your preset. Don’t change the settings and don’t uncheck any of the options. If you do, this will alter the preset.
You can give your preset a name (highly recommended) and add it into a Preset Group in Lightroom. You can save it in User Presets or you can create a new preset group and name it however you like. We recommend this if you have a lot of presets and want to keep them organized.

When you’re done naming your preset, save it by tapping on the checkmark icon at the top right corner.

Repeat this step for each DNG file as you will need to save each preset separately. Don’t worry though, you only need to do this once!
Step 4: Using Lightroom Mobile presets
To use your new presets just go back into your library and open any photo you’d like to edit.

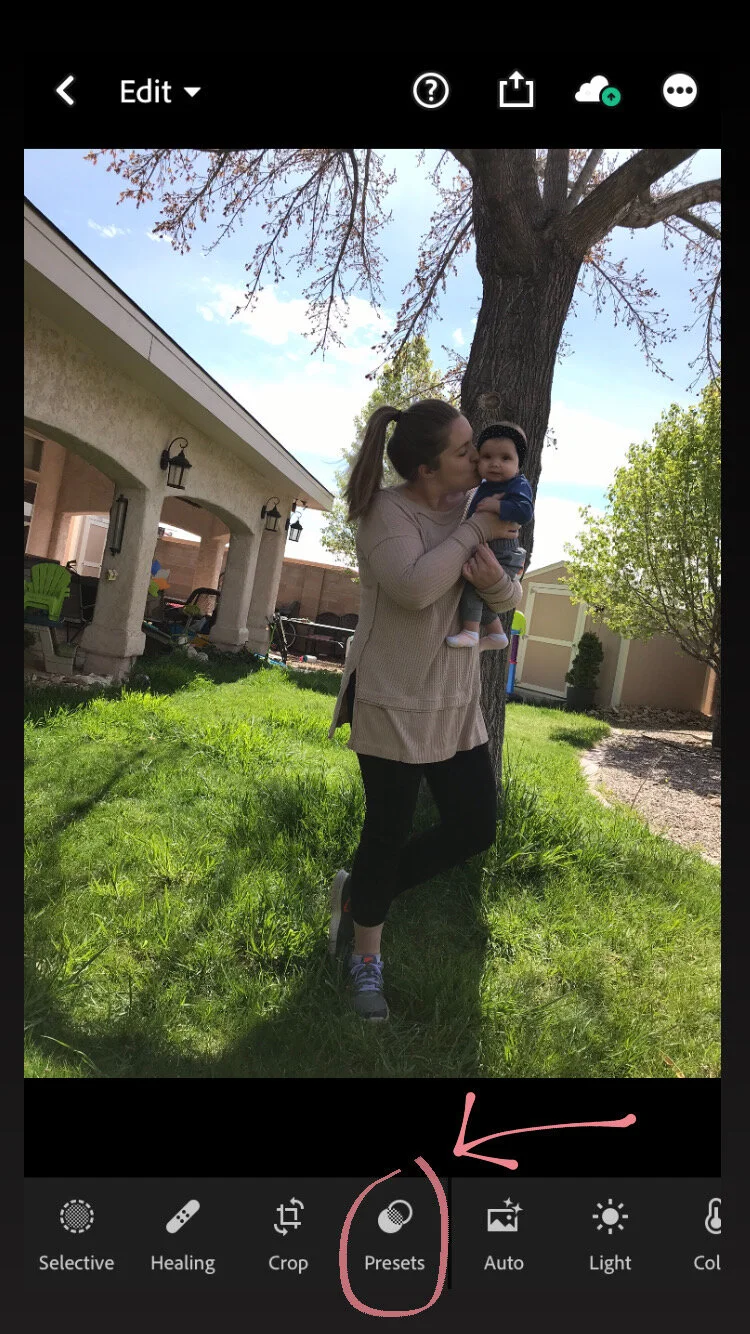
Find the Presets icon in the menu at the bottom of the screen and tap on it. Make sure the Preset Group that’s selected is the one where you saved your new presets. If you saved them in the User Presets group, select that.
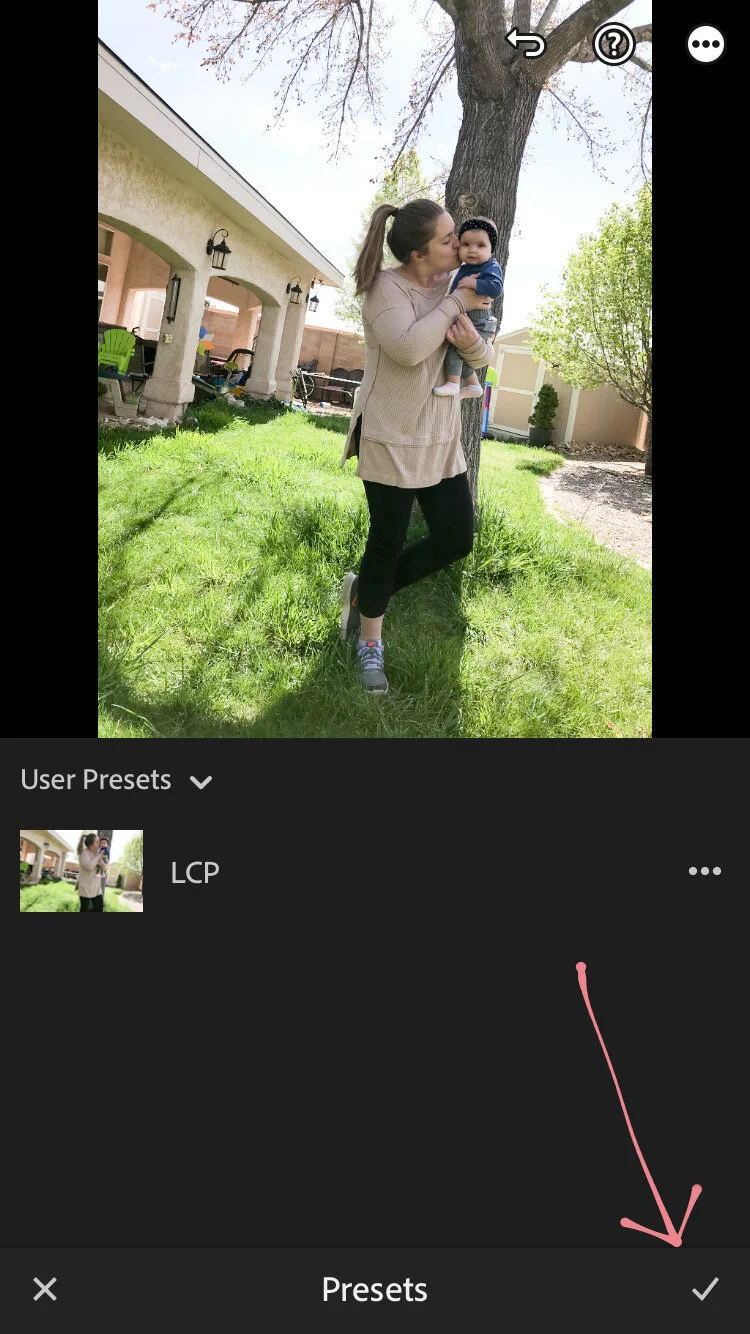
Now you can edit the photo by tapping on a preset from the list and then tapping on the checkmark.
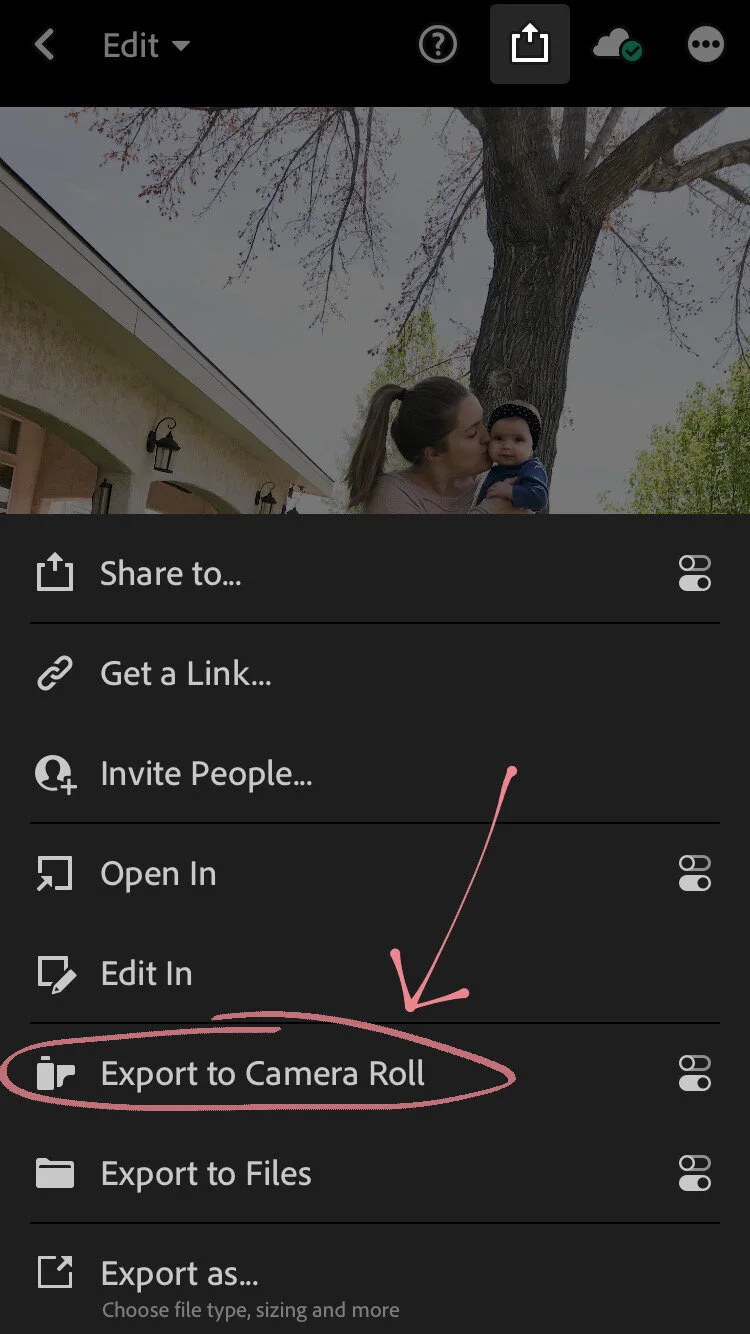
To save your edited photo to your camera roll, click the export icon in the top corner and select Export to Camera Roll.

And that’s it! Now you know how to install, save and use your Lightroom Mobile presets without desktop! Let us know if you have any questions or issues!
laurencheriephotography@gmail.com